Tent Care
MMI Outdoor
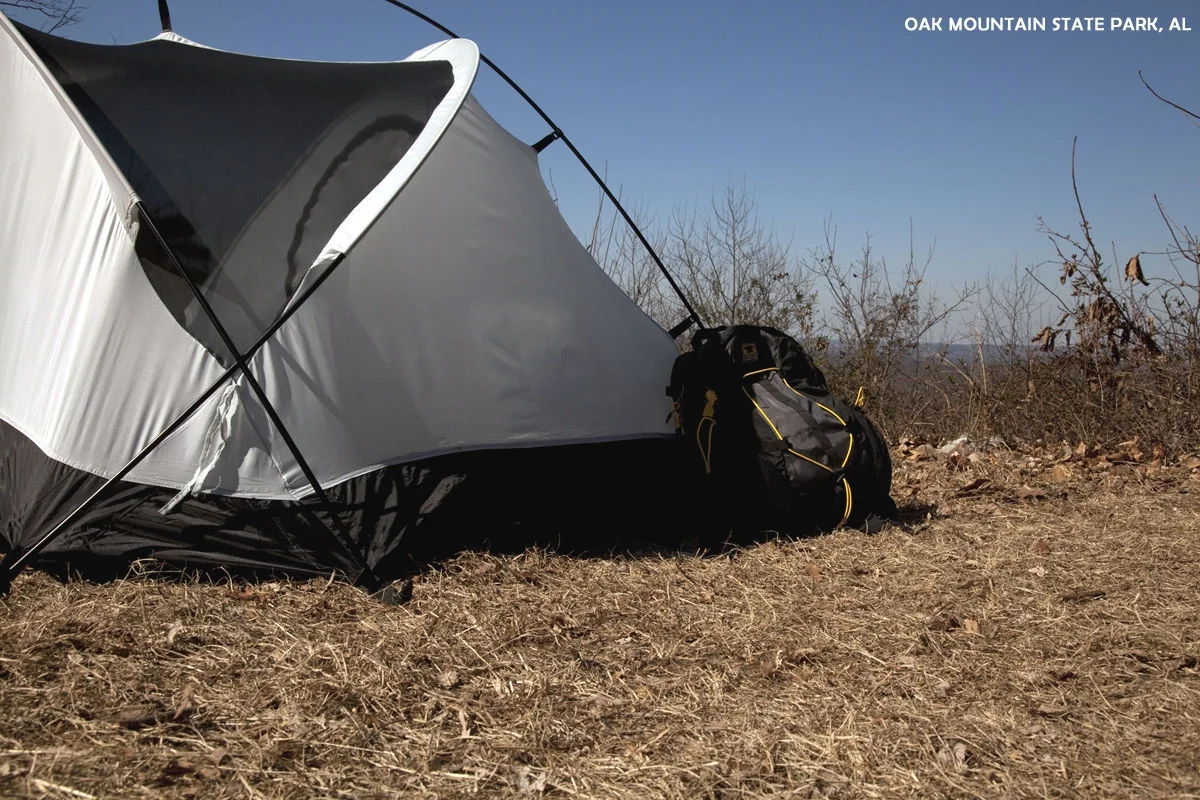
Tent Care in the Field
Tip #1: When selecting a setup spot, look for an established campsite with a smooth, level surface with no vegetation. Clear away tiny debris (pine cones, twigs, small rocks) that could jab you in the back or poke a hole your tent floor. Avoid disturbing a site any more than that. As prescribed by Leave No Trace principles: "Good campsites are found, not made. Altering a site is not necessary." Also from LNT: "Keep campsites small. Focus activity in areas where vegetation is absent."
Tip #2: Use a footprint.This is a custom-cut ground cloth designed specifically for the floor plan of your tent. Footprints protect your tent floor from abrasion; in the morning they provide a clean surface where you can fold up your tent.
A footprint also discourages rain water from collecting under the tent floor. This commonly occurs when using a generic ground cloth that extends beyond the tent's perimeter. If using a generic ground cloth, tuck any excess material under the tent floor.
Other tips:
- Avoid sleeping atop any uneven surfaces. Low spots can collect runoff.
- Stake your tent tautly and use guylines to keep the rainfly taut.
Other wetness may be the result of condensation. This occurs when the ground and footprint are cold, and the tent floor is slightly warmer. You can't prevent this, so just be sure to dry out wet items before long-term storage.
Tip #3: When you climb inside your tent, leave boots or camp footwear (and all the debris clinging to them) outside or in the vestibule.
Tip #4: The sun's ultraviolet rays cause nylon to degrade. If your campsite offers little or no shade during the day, cover your tent with its rainfly. The rainfly's urethane coating helps it hold up better under the sun's glare.
Tip #5: If your tent is a freestanding model, pick it up and shake out debris in the morning before you pack it away. Pick up any trash that falls out and pack it out.
Tip #6: If you forget your stakes, lose them or the ground is too hard to permit staking, dig out some cord, collect a few melon-size rocks and follow these steps:
- Tie lengths of cord (or fishing line, even dental floss) around 4 rocks and attach 1 cord/rock combo to the exterior webbing at each tent corner.
- Push the rocks away from the tent until the tent is as taut and stable as you can make it.
- Leave about 1 foot of cord between the rock and the webbing. Then place a second rock (and a third and fourth, if needed) atop the cord. The additional rock (or rocks) pushes the cord to ground level and adds weight and friction for security.
- No cord? Find some smooth rocks and gently place them atop each tent corner. If the rocks are super-smooth, you could consider placing them inside the tent to anchor the corners. The possibility of abrasion, however, makes this a risky move.
Tip #7: With shockcorded poles, resist the urge to whip them around to cause the sections to "snap" together. It's fun, yes, but all that snapping could chip the section fittings and weaken the poles. It's better to fit the sections together one at a time by hand.
Tip #8: When disassembling a tent, first separate a shockcorded pole in the middle rather than starting at the end of the pole. This eases tension on the entire cord while it is stored.
Tip #9: What if a tent pole breaks? Most tent manufacturers include a pole repair sleeve that can straddle a damaged pole section and act as a splint. The diameter of a pole sleeve is slightly larger than your tent pole, so it can slip over a bent or broken section pretty easily. If tape is available, it's good to secure the sleeve by wrapping a few strips around both ends.
Tip #10: When packing a tent, avoid folding the tent or rainfly fabric on the same crease lines time after time. Over the years those creases could become permanent and grow brittle. Fold a tent in different places each time you pack it up.
Tent Care at Home
Tip #1: Got a new tent? Set it up at home first before going to a campground or into the backcountry. This lets you become acquainted with its assembly process in a no-pressure setting and confirms that you have all of your tent's stakes, guylines and accessories.
Tip #2: When you store a tent, make sure it is dry. No tent-care rule is more important. Wet tents, or even damp ones, invite mildew. After a trip, unpack your tent and inspect it carefully. If you detect even a trace of moisture, set it up in a shady spot (a garage, for instance) and let it air dry. If you have the space, store it loosely outside of its stuff sack. Avoid storing a tent in damp basements or hot attics.
Tip #3: To clean a tent, use a non-abrasive sponge, cold water and a non-detergent soap. Gently scrub soiled areas by hand. Avoid household cleaners such as dishwashing liquid, bleach, spot removers or laundry presoaking products. (Why? Virtually all household soaps are perfumed and will attract bugs, mice and other critters. These soaps also mask a tent's durable water repellent [DWR] coating.) Rinse thoroughly, then set it up in a shady spot and let it air dry completely.
Tip #4: Do not machine-wash a tent. If placed in a traditional top-loading washing machine, the back-and-forth churning of a washer's central-axis agitator could snag the tent and overstretch it or even pull apart its seams. In a front loader, repeated tossing and tumbling can wear off waterproof coatings. Machine-drying a tent is never an option; too much heat could cause the material to distort or melt.
Seams and Waterproofing
The floors and rainflys of nearly every tent come with factory-sealed seams. Seam tape is used to plug the tiny holes created by sewing needles when fabric sections are stitched together. One exception: ultralight tents that use silicone-treated nylon rainflys. Why? Seam tape does not bond to silicone.
Considerations:
- Any tent that is not factory-sealed must be sealed manually using seam sealer, a liquid or glue-like product with a built-in applicator. Follow directions on the product. Seal seams at home prior to camping in the tent. Typically, seam sealer should be applied to the coated (shiny) side of the floor or rainfly. Seam sealer can also be used to plug seam leaks on a heavily used tent.
- Well-worn tents (and single-wall tents) may also need to have the waterproof coating of their floors or rainflys rejuvenated. The latter becomes apparent when you notice your tent rainfly or walls increasingly sagging due to rain or dew. Wash-in or spray-on products used to revive waterproof/breathable outerwear can be used for tents, too.
Removing Mildew
Mildew can develop any time your tent is stored wet. It looks bad, smells bad and can damage your tent's waterproof coatings. Don't let it start.
Alas, if it already exists, here's what to do:
- Try some light scrubbing with a sponge.
- If mildew is still apparent, mix 1 oz. of MiraZyme® (or similar product) to 20 gallons of water in a bathtub and dip the whole tent. (Note: Lysol® also works, but its scent is attractive to bugs and critters and is thus not recommended).
- For spot treatment, use 0.5 oz. of MiraZyme (or similar product) per 1 gallon of water and thoroughly scrub afflicted areas by sponge.
- Set up the tent in a shaded spot and allow it to air dry.
- Then, mix 1 cup of salt and 1 cup of concentrated lemon juice with 1 gallon of hot water. Rub solution into the visible mildew and, again, allow the tent to dry.
This procedure will stop mildew growth and eliminate the odor (including food odors), but it will never remove the stain.